
Today we’re going to get a little meta by giving you instructions to make a killer instructional or
Thanks to sites like YouTube, viewers can now watch a video clip to learn about a topic or product in real-time, rather than read a long article to wade through guides.
Tutorial videos are powerful because they are two-fold. They can educate viewers about your product, all while addressing some of their key pain points and generating further curiosity.
The key to an effective tutorial video is to keep the instructions simple and focus on showing the process or the steps.
Here's a step-by-step guide to make a tutorial video
1) Figure out where your audience needs help
The level of detail and steps involved in your tutorial will be determined by your audience. If it’s a new user, you may want to focus on set-up and a general walkthrough.
A tutorial video doesn’t help anyone if it’s not relevant–so don’t set out to make one just to promote your business.
Do some research around your target audience and figure out where they’re having trouble with your product or service. Create your instructional video incorporating frequently asked questions or common issues to increase your impact.
2) Prepare the script and storyboard
Next, it’s time to prepare your video tutorial script. Yes, you know your product inside and out–but filming a tutorial off the cuff is not the best approach. While recording impromptu, you may forget to break down or explain key steps.
Ensure that it aligns with your brand’s tone of voice. Whether you create a more corporate type of video or a casual chatty style, make sure you prepare a storyboard as well.
Planning out your script like this will ensure that you do not miss out on adding any important visuals or B-roll as you narrate each step.
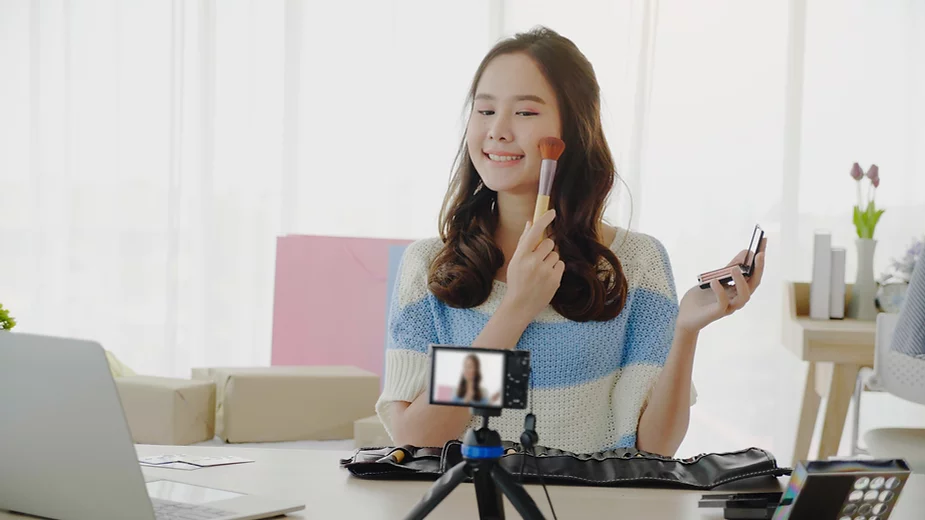
3) Clear out your set and record B-roll
Now it’s time to put together your B-roll. This could be a screen recording, a demonstration of your product, and additional visuals as necessary.
If you need any separate software or equipment for this, now’s the time to download or set them up. Ensure that your workspace–whether it’s a screen or actual set–is free of clutter, so the viewer can focus on the demonstration.
4) Record the voiceover portion
Good audio is the key to creating tutorial videos. Thankfully, DailyCutting has a built-in voiceover recording feature, so you won’t need to fiddle around with external recorders or audio software here.
Make sure you’re in a small, quiet space and read slowly and clearly. If there are any words in your script that may be too technical or sound like jargon, swap them out.
You may not get it all perfect on the first go, so do a run-through or two and then hit record.
5) Break down processes in the editing room
While editing your video, ensure that you have titles to demarcate each step of the process so viewers can easily navigate to their desired point.
This makes it more likely for the viewer to stay on your video, as they won’t have to sit through steps that are not relevant to them.
With DailyCutting’s sharp collection of graphics and titles, you can easily create eye-catching section dividers for your instructional videos.
Finally, while uploading to YouTube, make sure you break your video down into different chapters to facilitate this.
If you’re looking for even more tips, check out YouTuber Blender Guru’s tips on creating a great tutorial video. The folks at Creative Bloq also have some advice you can check out here.
Are you looking to make a Tutorial Video?
Keeping all these steps in mind, it’s your turn to create your tutorial video. Put yourself in your audience’s shoes and make that the basis for what you film and show.
And don’t forget to check out DailyCutting for fuss-free video editing in minutes!